Ever since I was gifted a TS-100 soldering iron, I never had to look anywhere else for soldering irons, except when I was soldering wires for the TS-100 supply voltage. My uncle was also kind enough to gift me a bunch of tips for it, and I only learned the beauty of some of them later on(drag soldering with the bevel tip is just... beautiful). But sometimes, I want to change the tip, and being impatient as I am, I always have to find some janky spot to leave the hot tip at, right after using pliers to remove it.
After getting my 3D printer, I thought I could find a way to make a piece that would hold all my tips, but to get that sweet resistance, I would need to get creative. But let's not get ahead of ourselves... I designed the piece I had in my mind:(I did it with freecad, at the end of this post I will provided the .FCStd that I got all these steps from)
This model has some tolerances baked in, but it's tight enough that the thicker part will never go through the thinner one. This is very important because I wanted to be able to fit the tip in the support while it was still attached, unscrew the tip, and pull the tip off the TS-100 while the tip is held by the support(This might have gotten confusing, but you get the idea, I want to remove the tip without having to touch it).
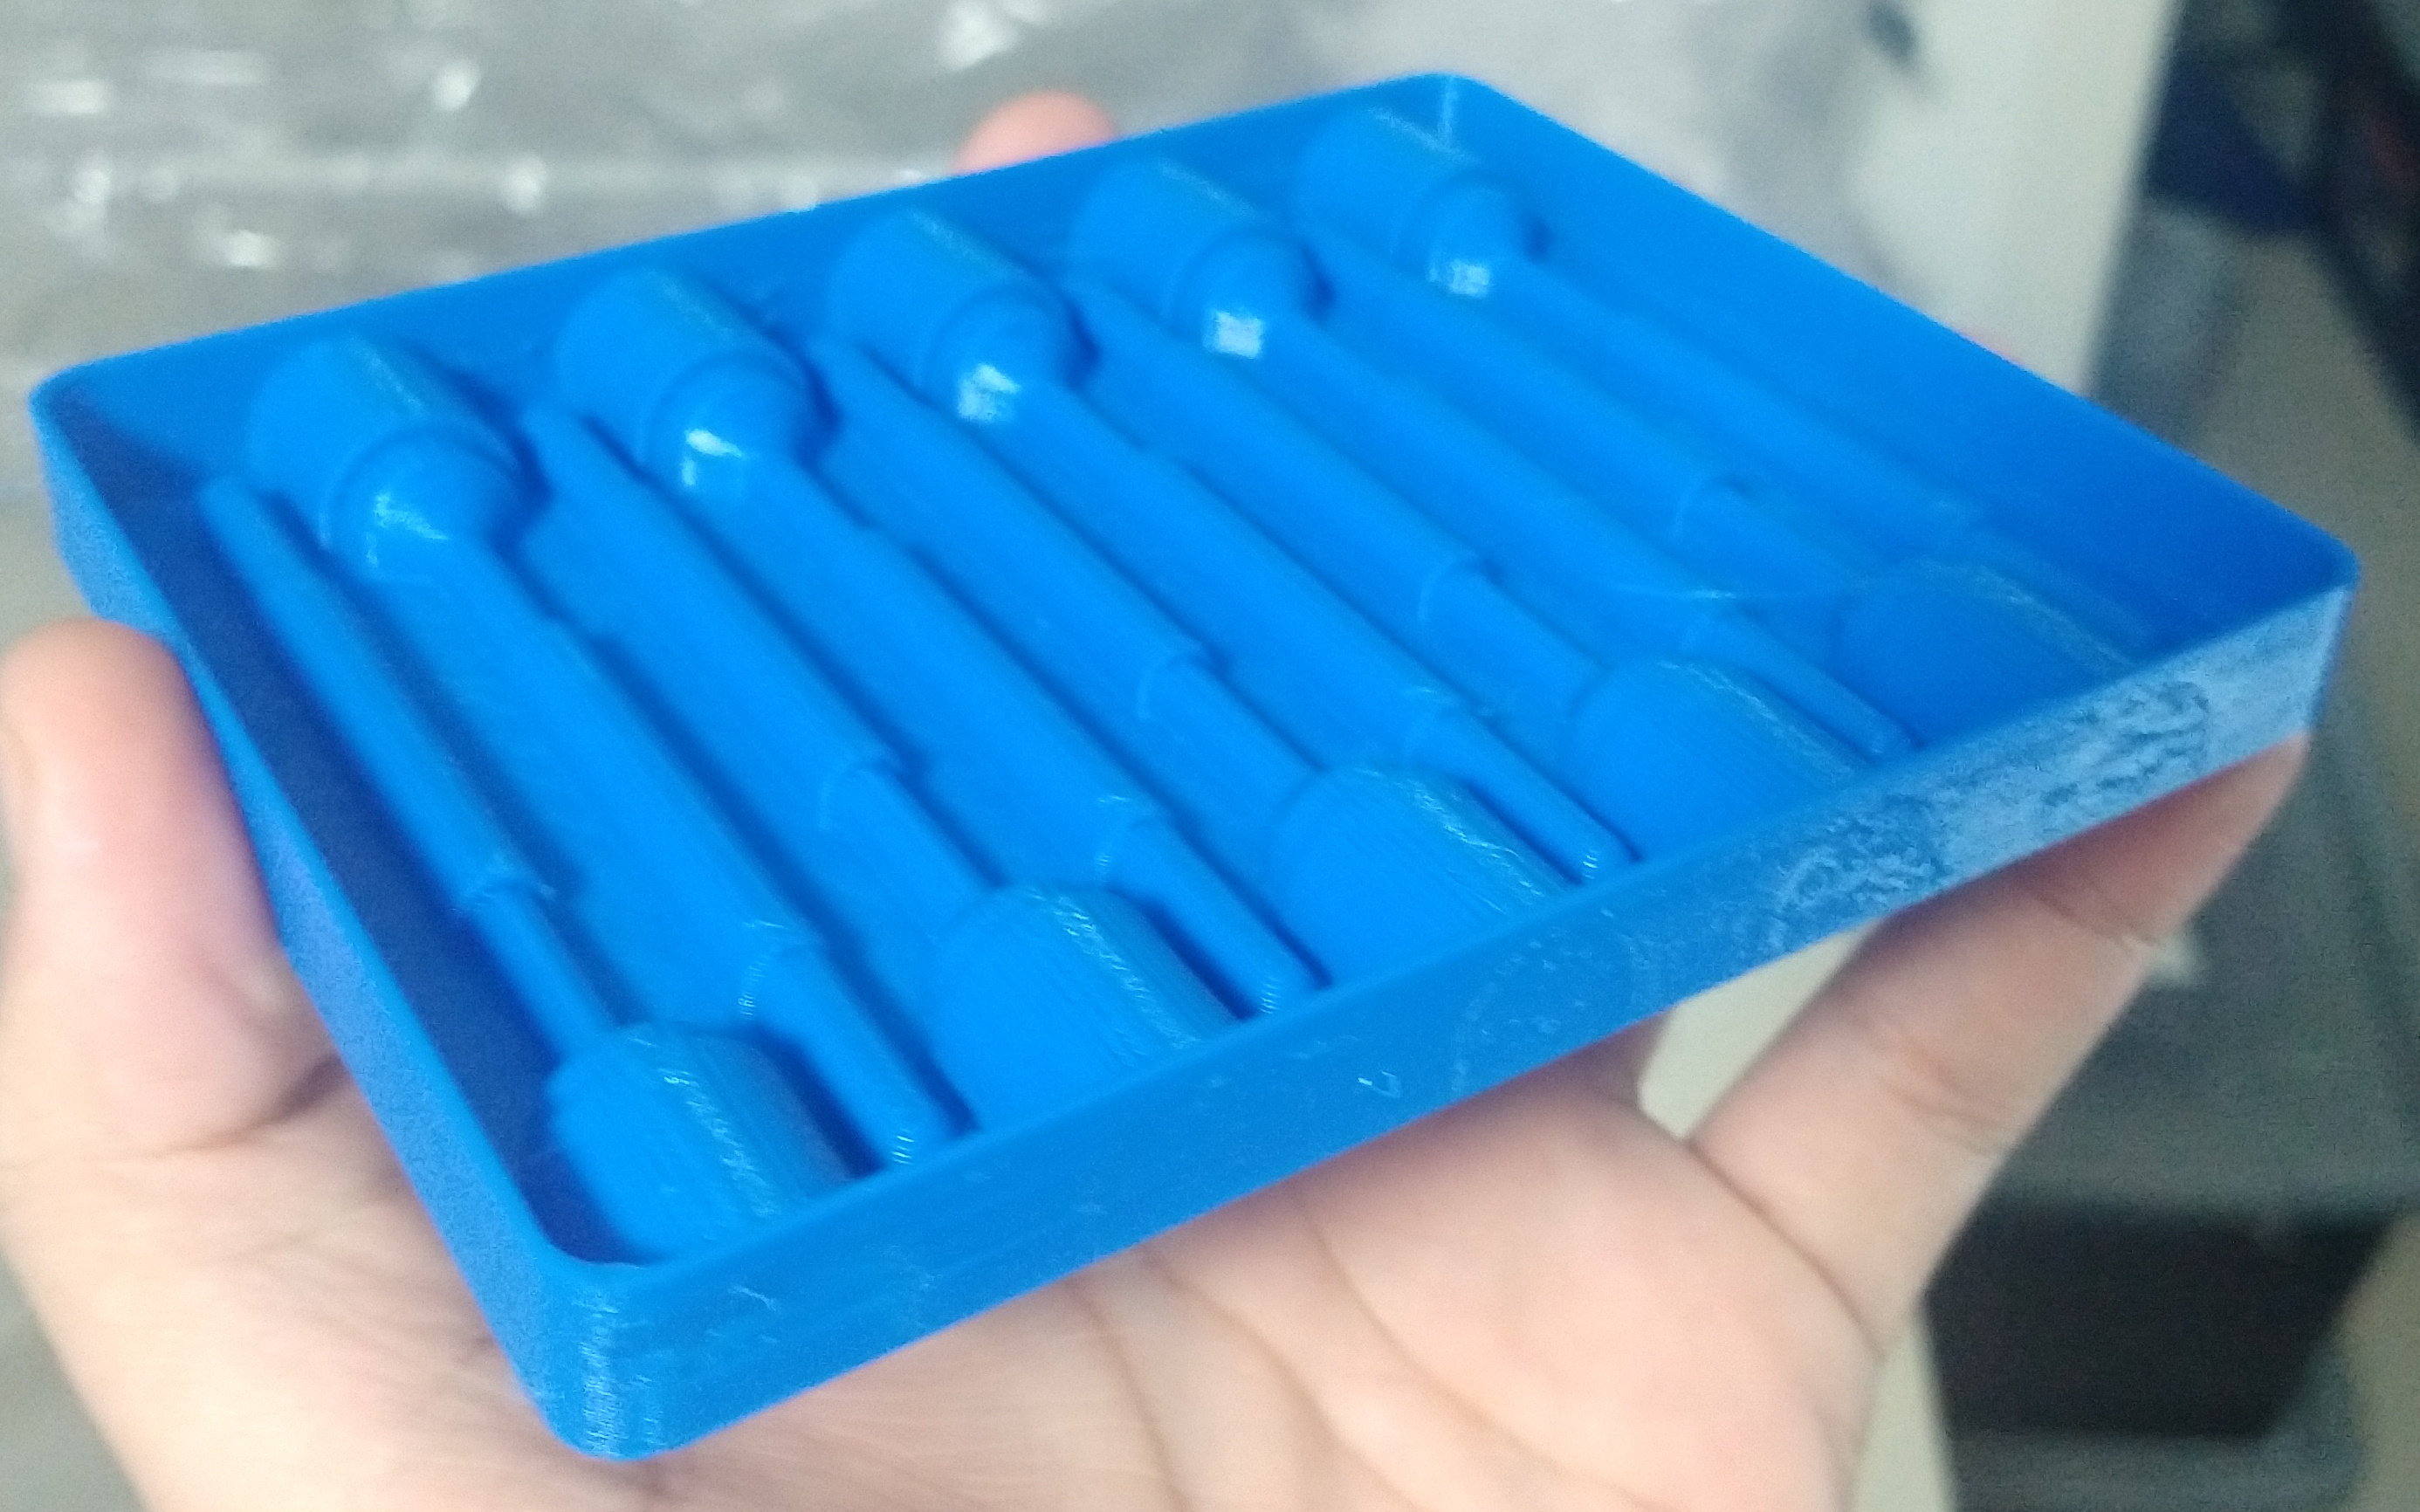
Ok, now to think about how to do this. Plain 3D printing won't cut it, the extruder goes to at most 300C to melt the filament, while the TS-100 reaches 450C at it's maximum, I won't even risk it, and if I had patience to wait for the tip to cool down a little, I wouldn't be doing this. So I made a 3D model for a cast, and the plan was to use plaster in this cast to get my part. The model:
After printing:
Bought like 5kg of plaster... And found out this wouldn't work. The 3D print was too rigid, and while trying to bend it to remove the cured plaster from the cast, the print started breaking. Not only that, but the plaster I used also started to break, I think it expanded, and while bending the 3d print, the part started to break as well...
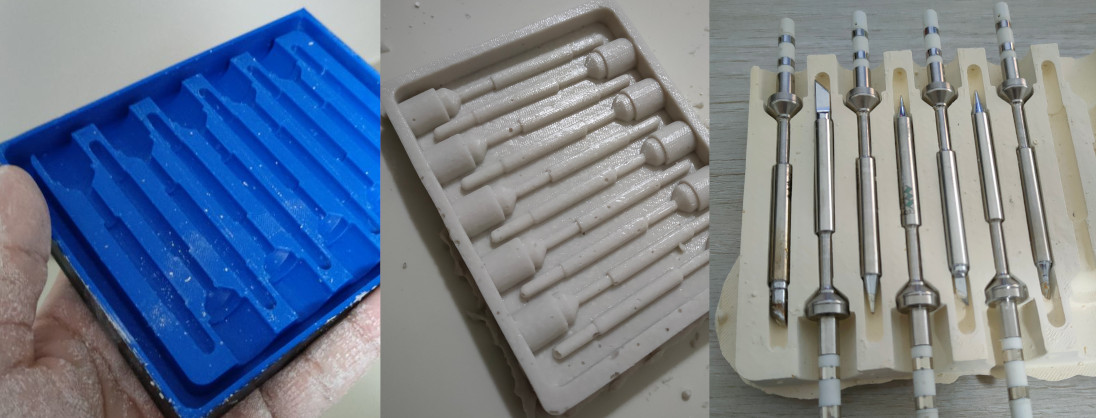
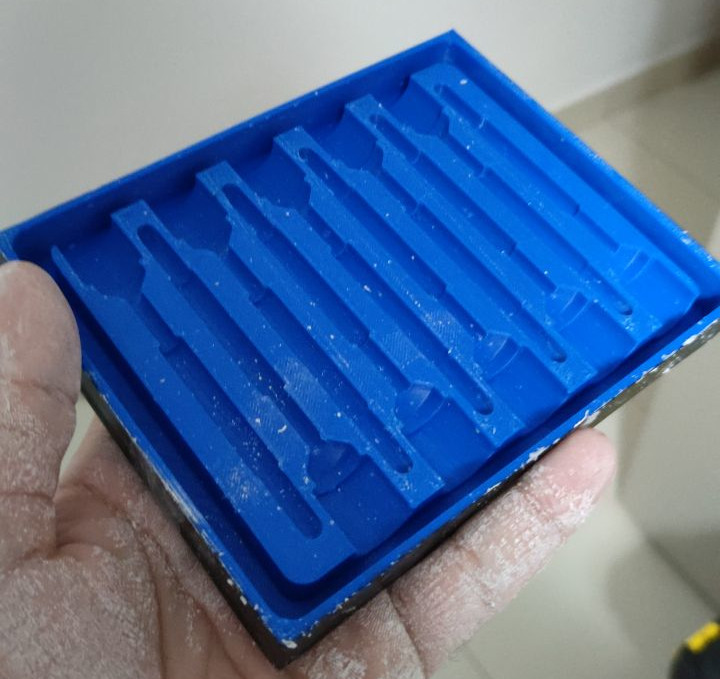
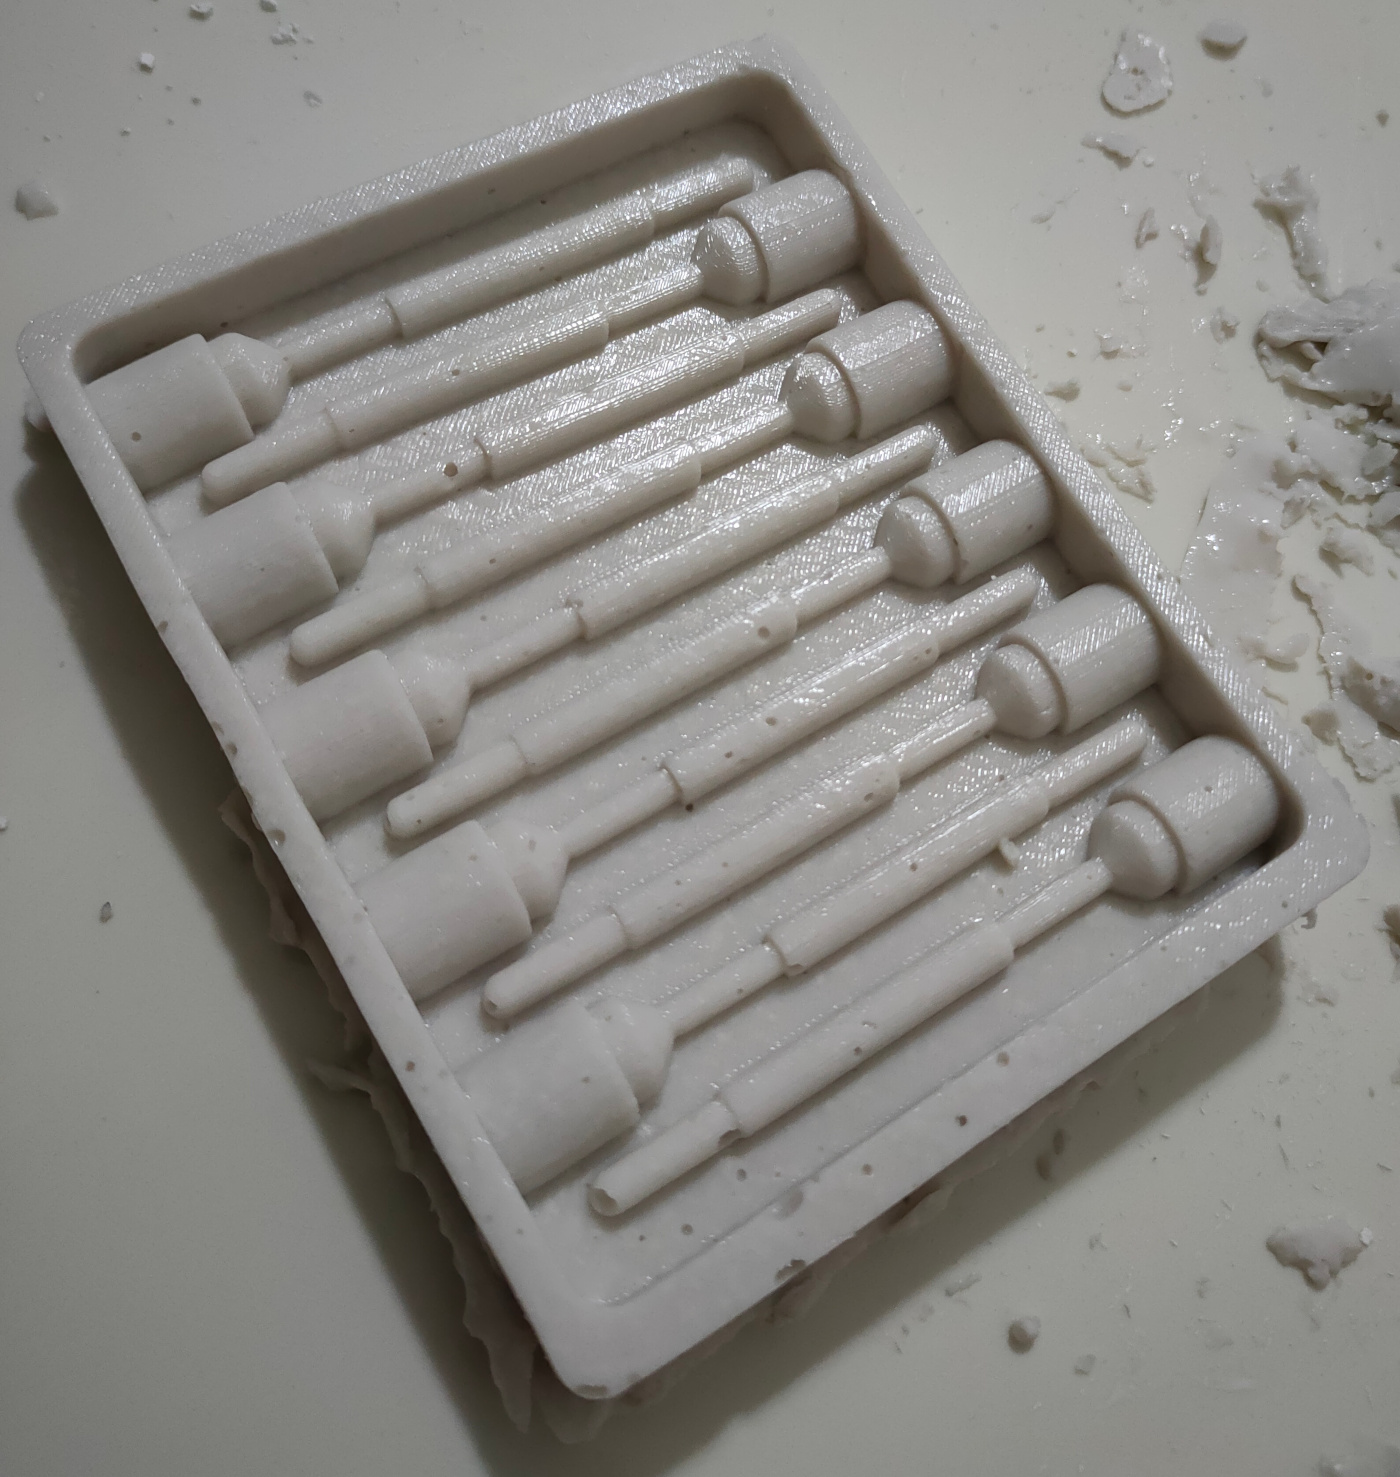
I devised a new plan: I saw some people on youtube using alginate to make a cast of sculptures of their hands, etc, and then pouring plaster in that. I decided I would 3d print a cast, to make a cast of alginate, and use this second cast of alginate to make my final part out of plaster. Alginate is super flexible when solidified, so removing the part from the cast shouldn't be a problem. The model to be printed:
After printing:
This time, I bought a kit of alginate and plaster that was advertised to make sculptures, so I probably have the right variation of plaster this time. The kit actually had the same stuff used by dentists to make molds of our teeth, so I also expect good quality, I think.
Pouring alginate in the cast to get another cast:
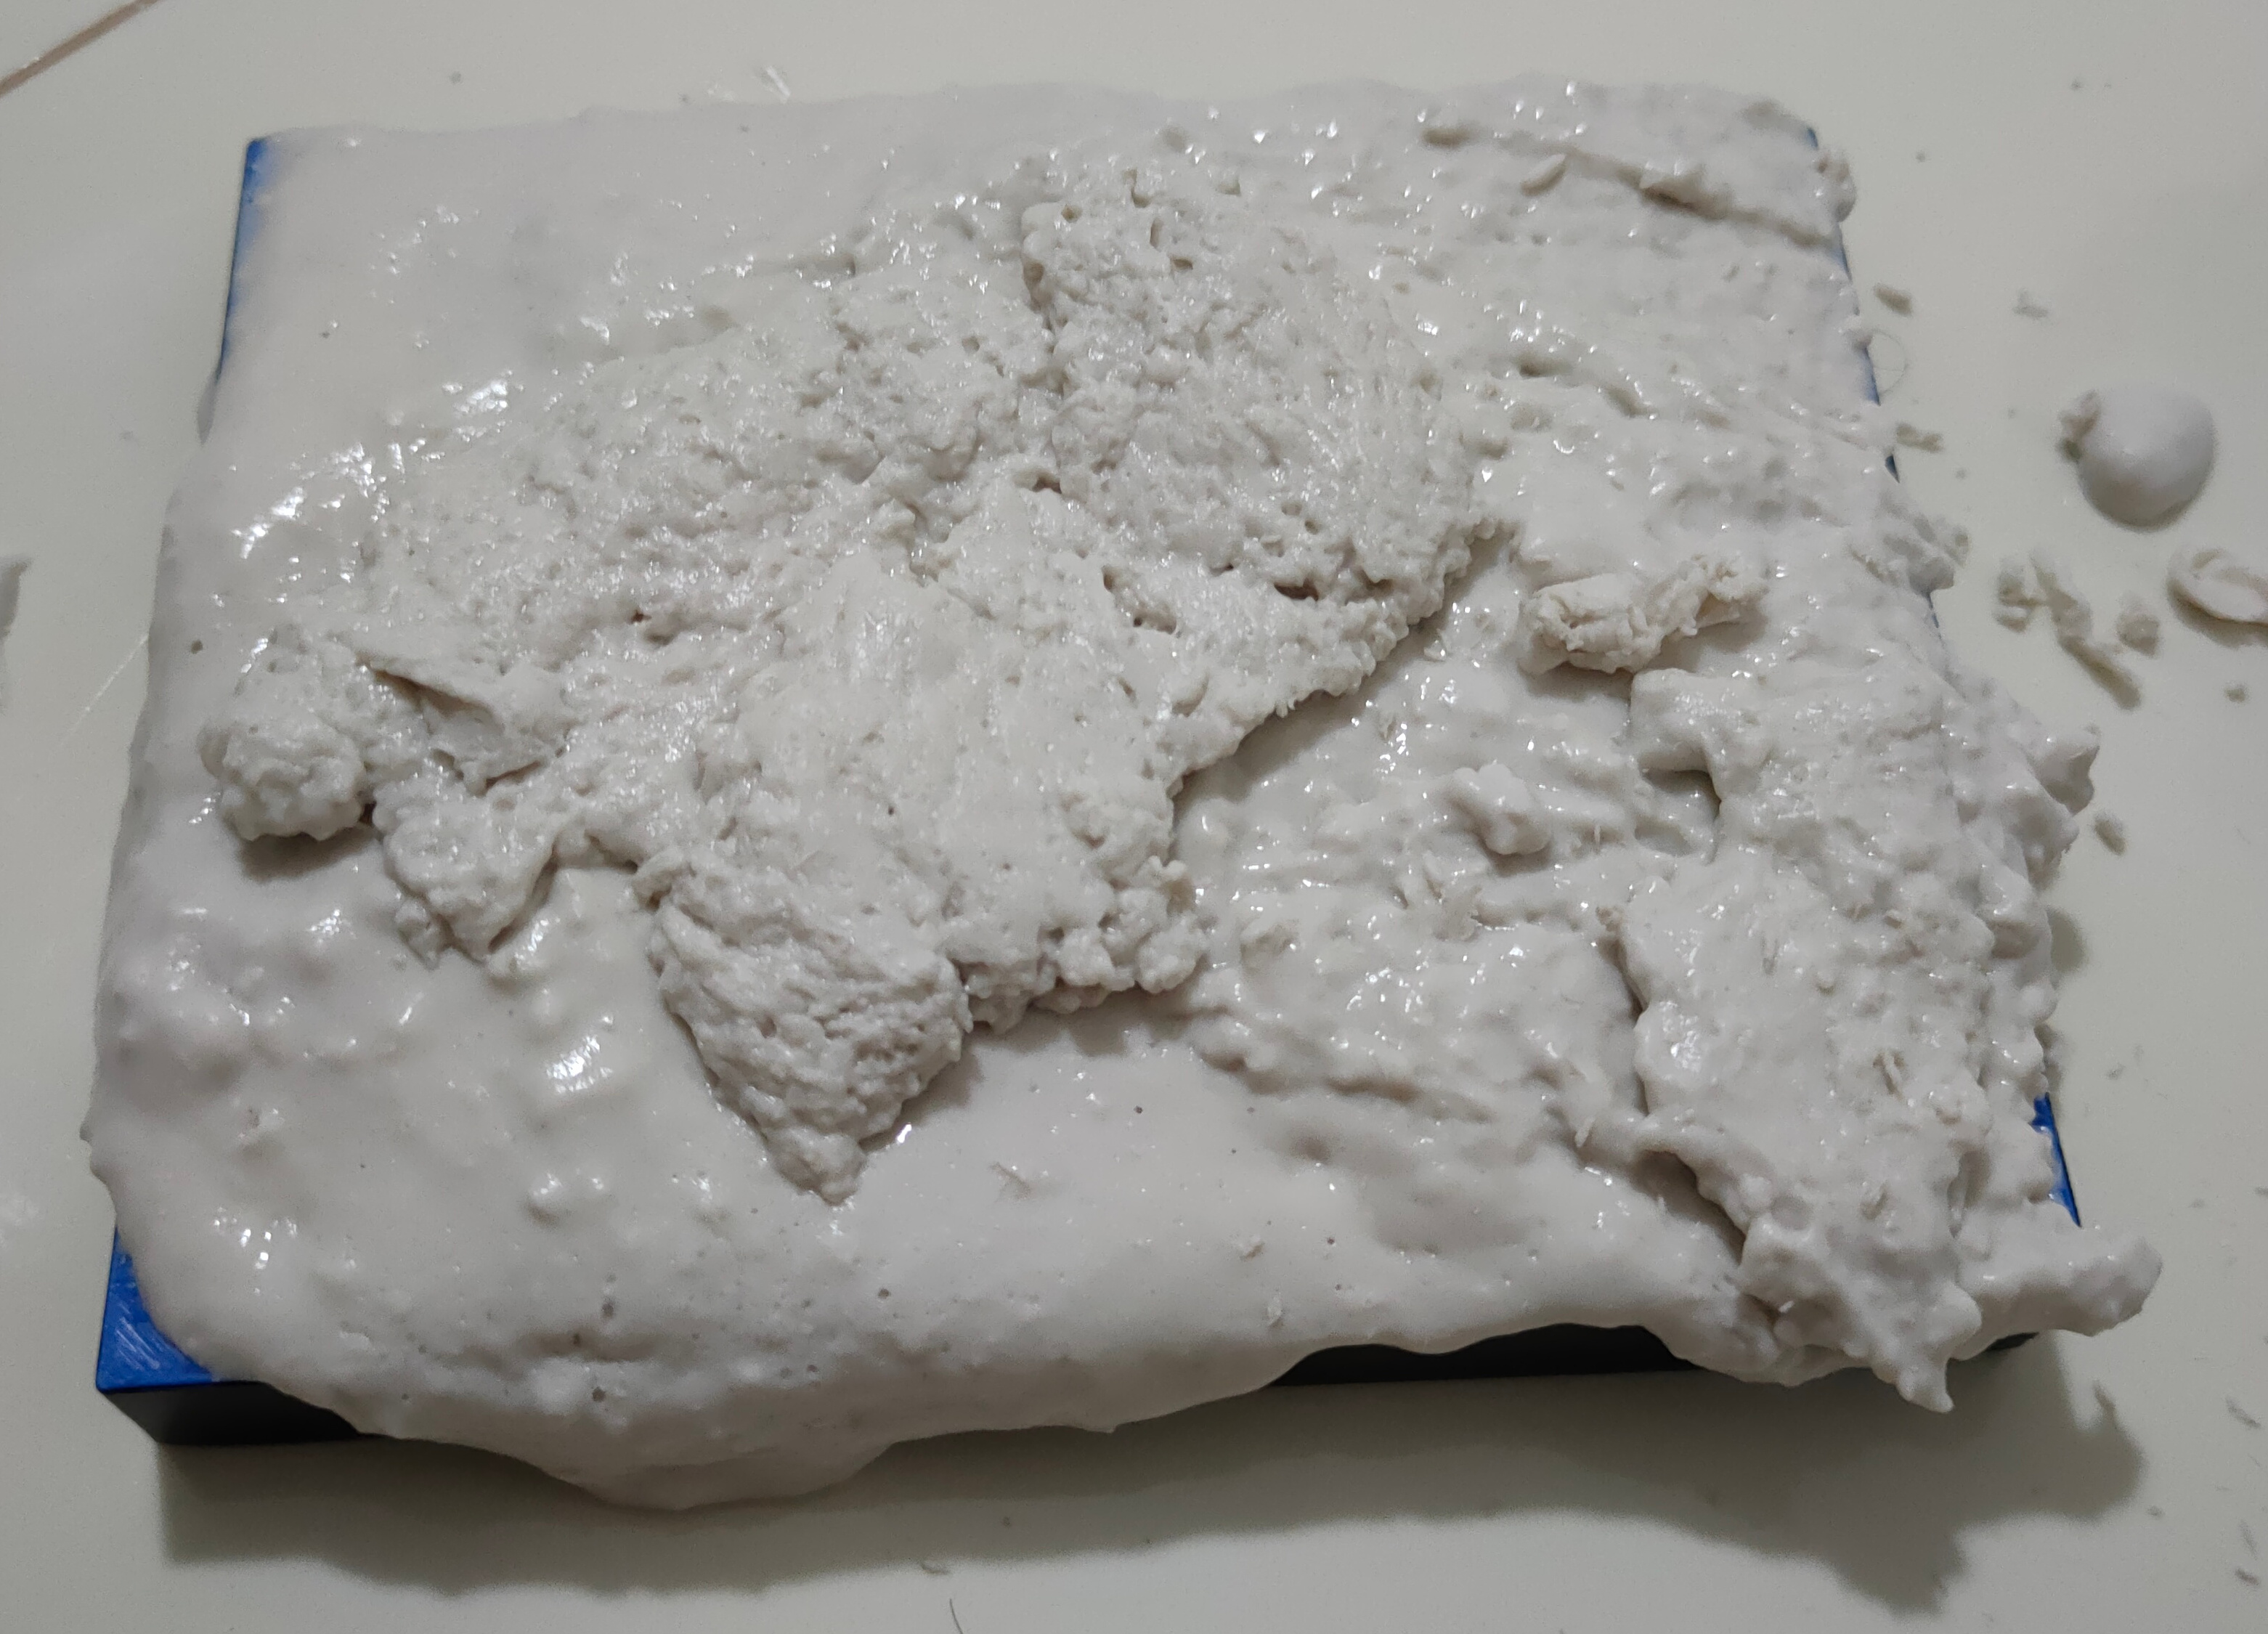
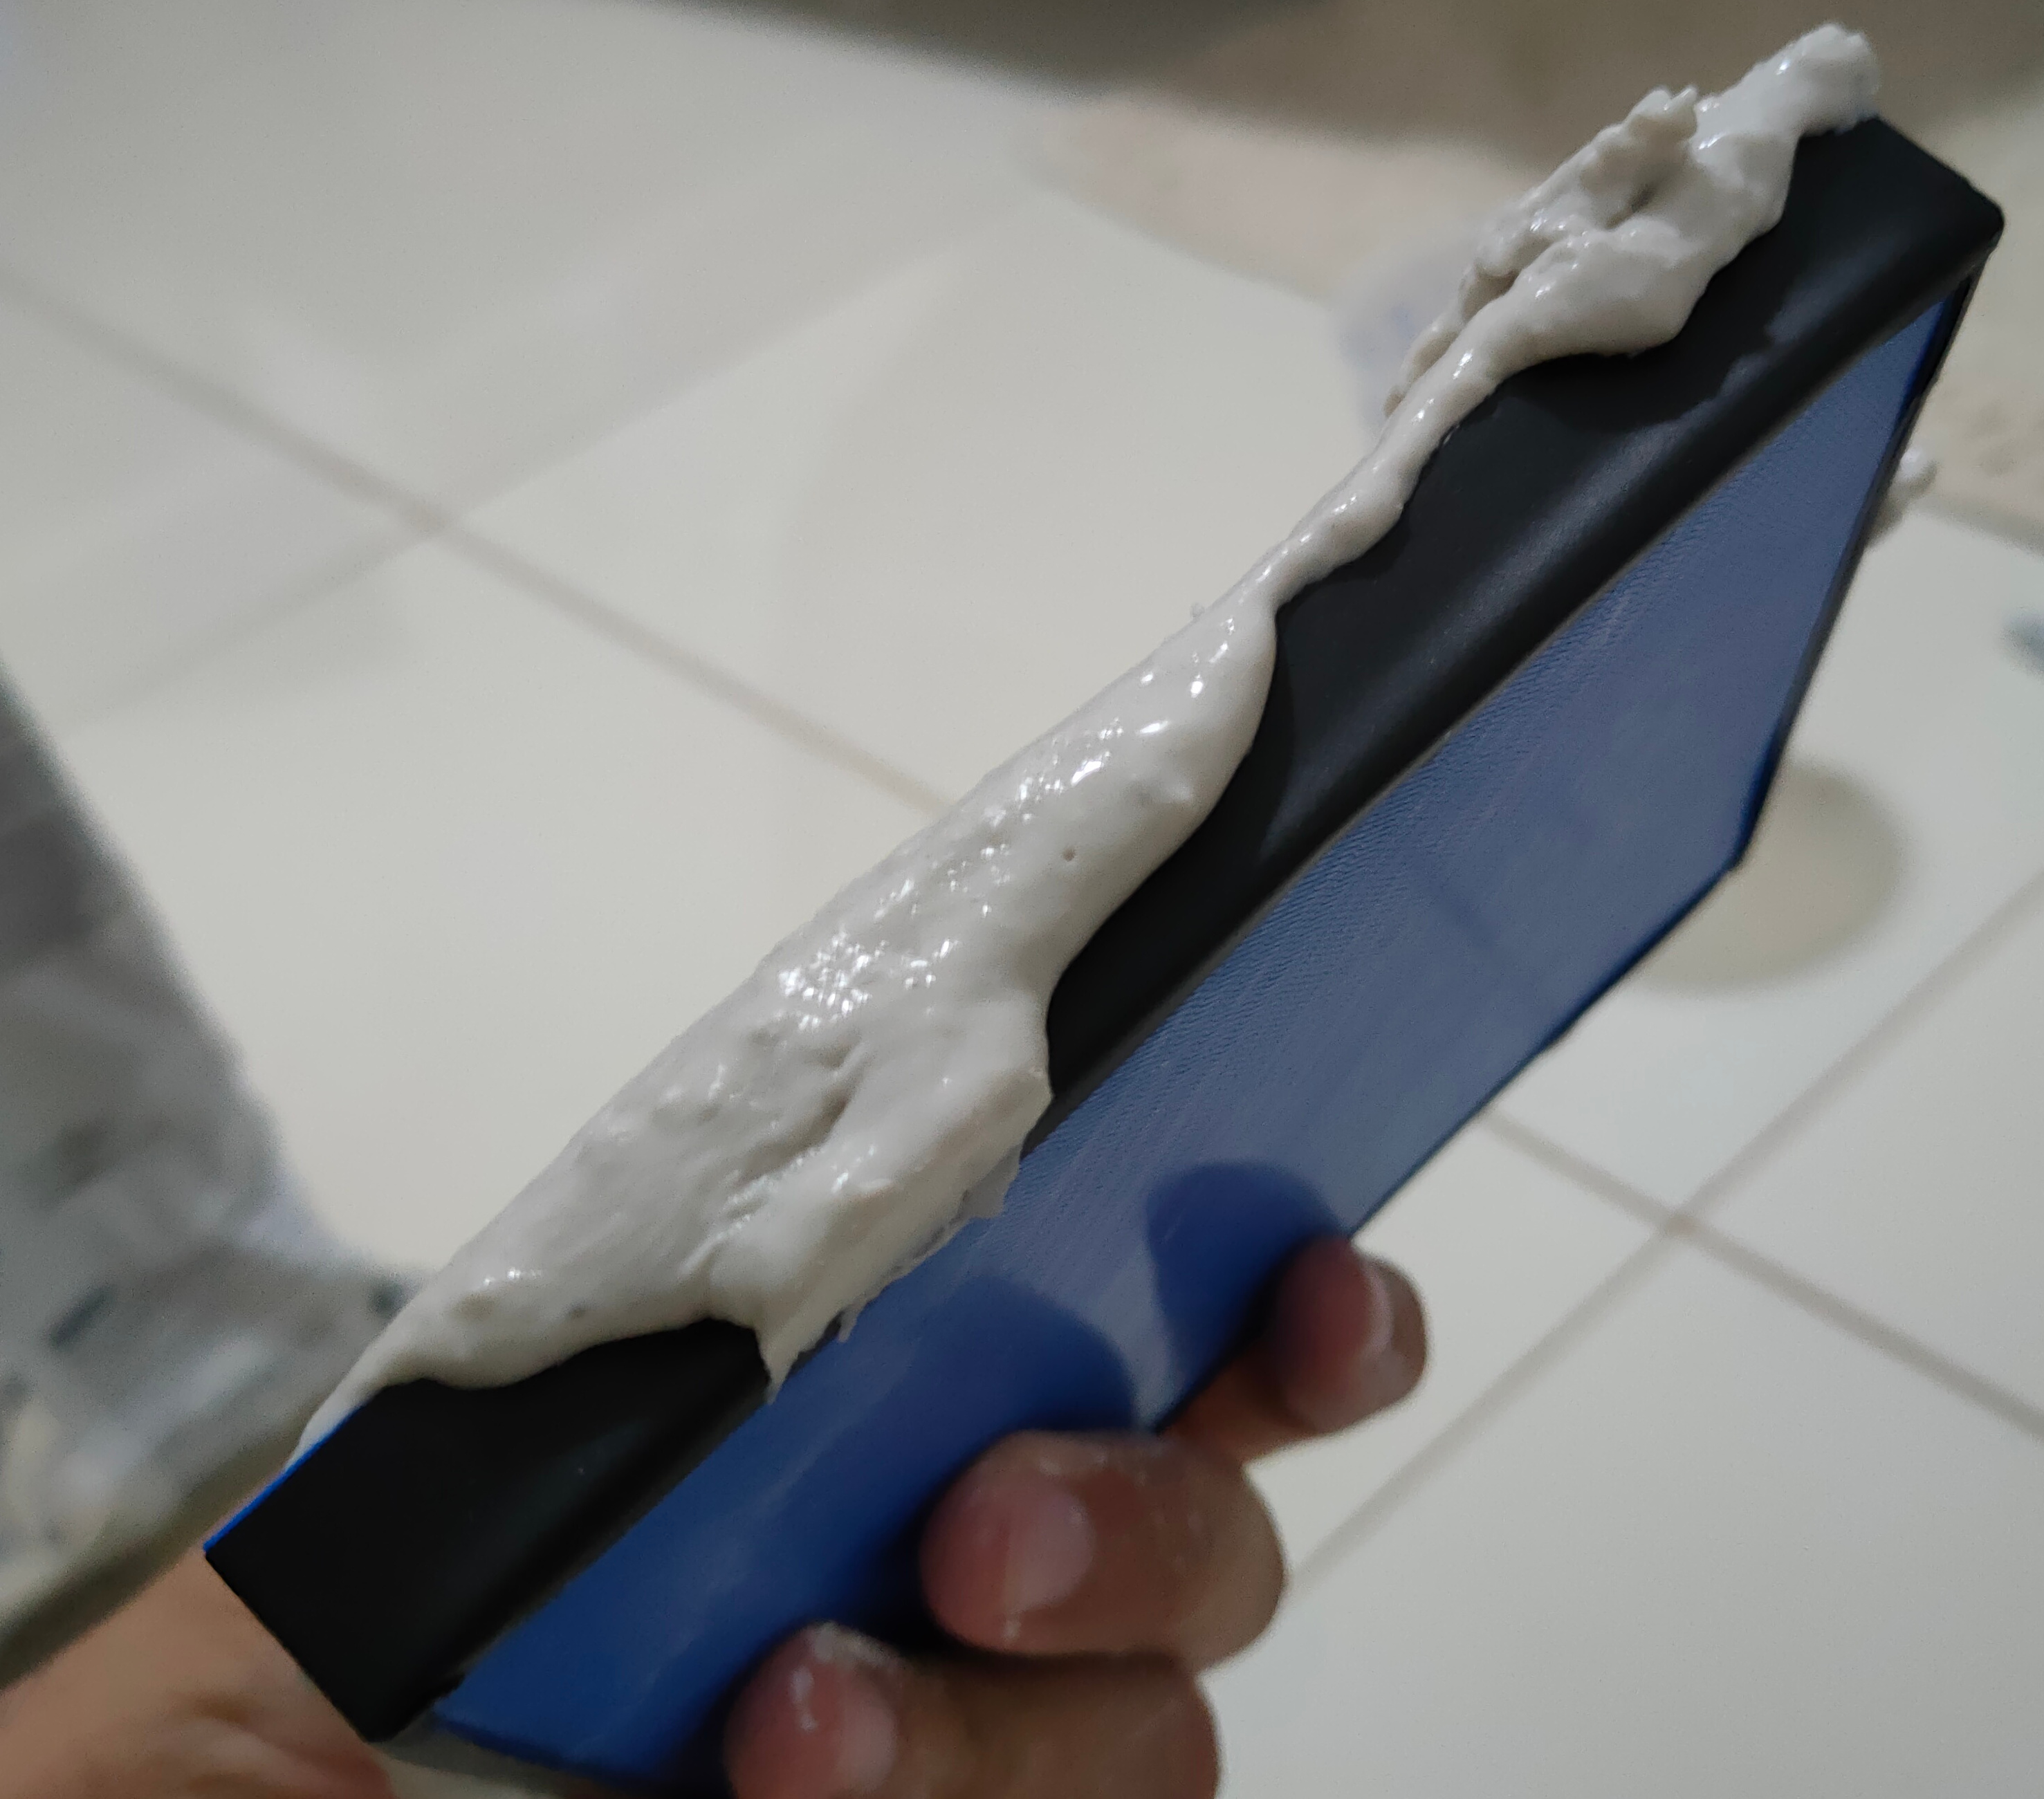

As you can see, it's my first time using alginate, so I didn't know what to expect and ended up doing some weird stuff. Even the mold that turned out good, actually has some lumps on it's back, which will make the final piece a little crooked, even after I tried to straighten it up. It's okay, it will still be usable. Time for the plaster:
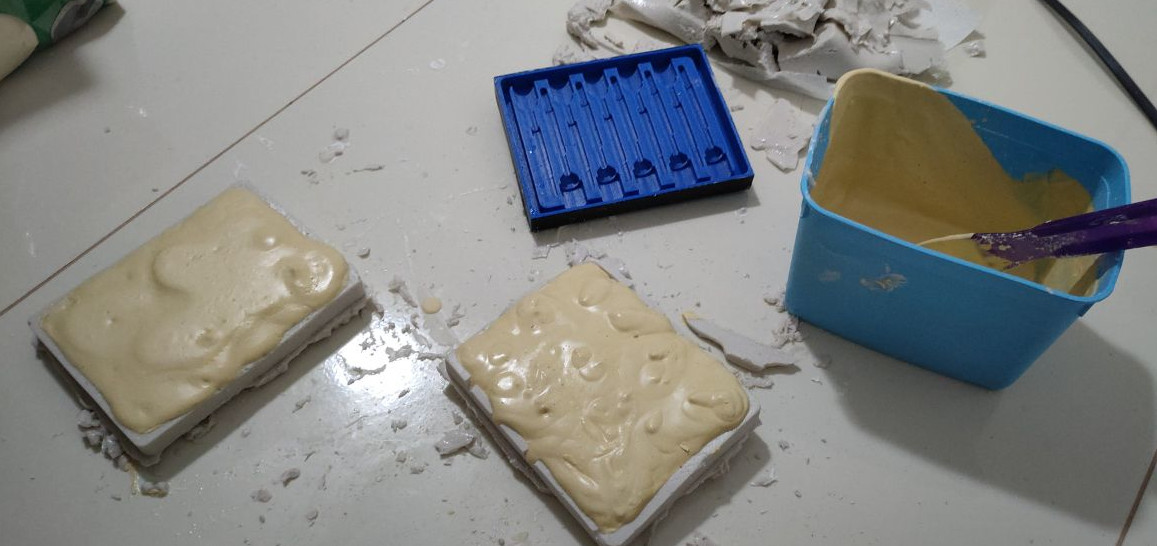
And after a very short while, we have our results:

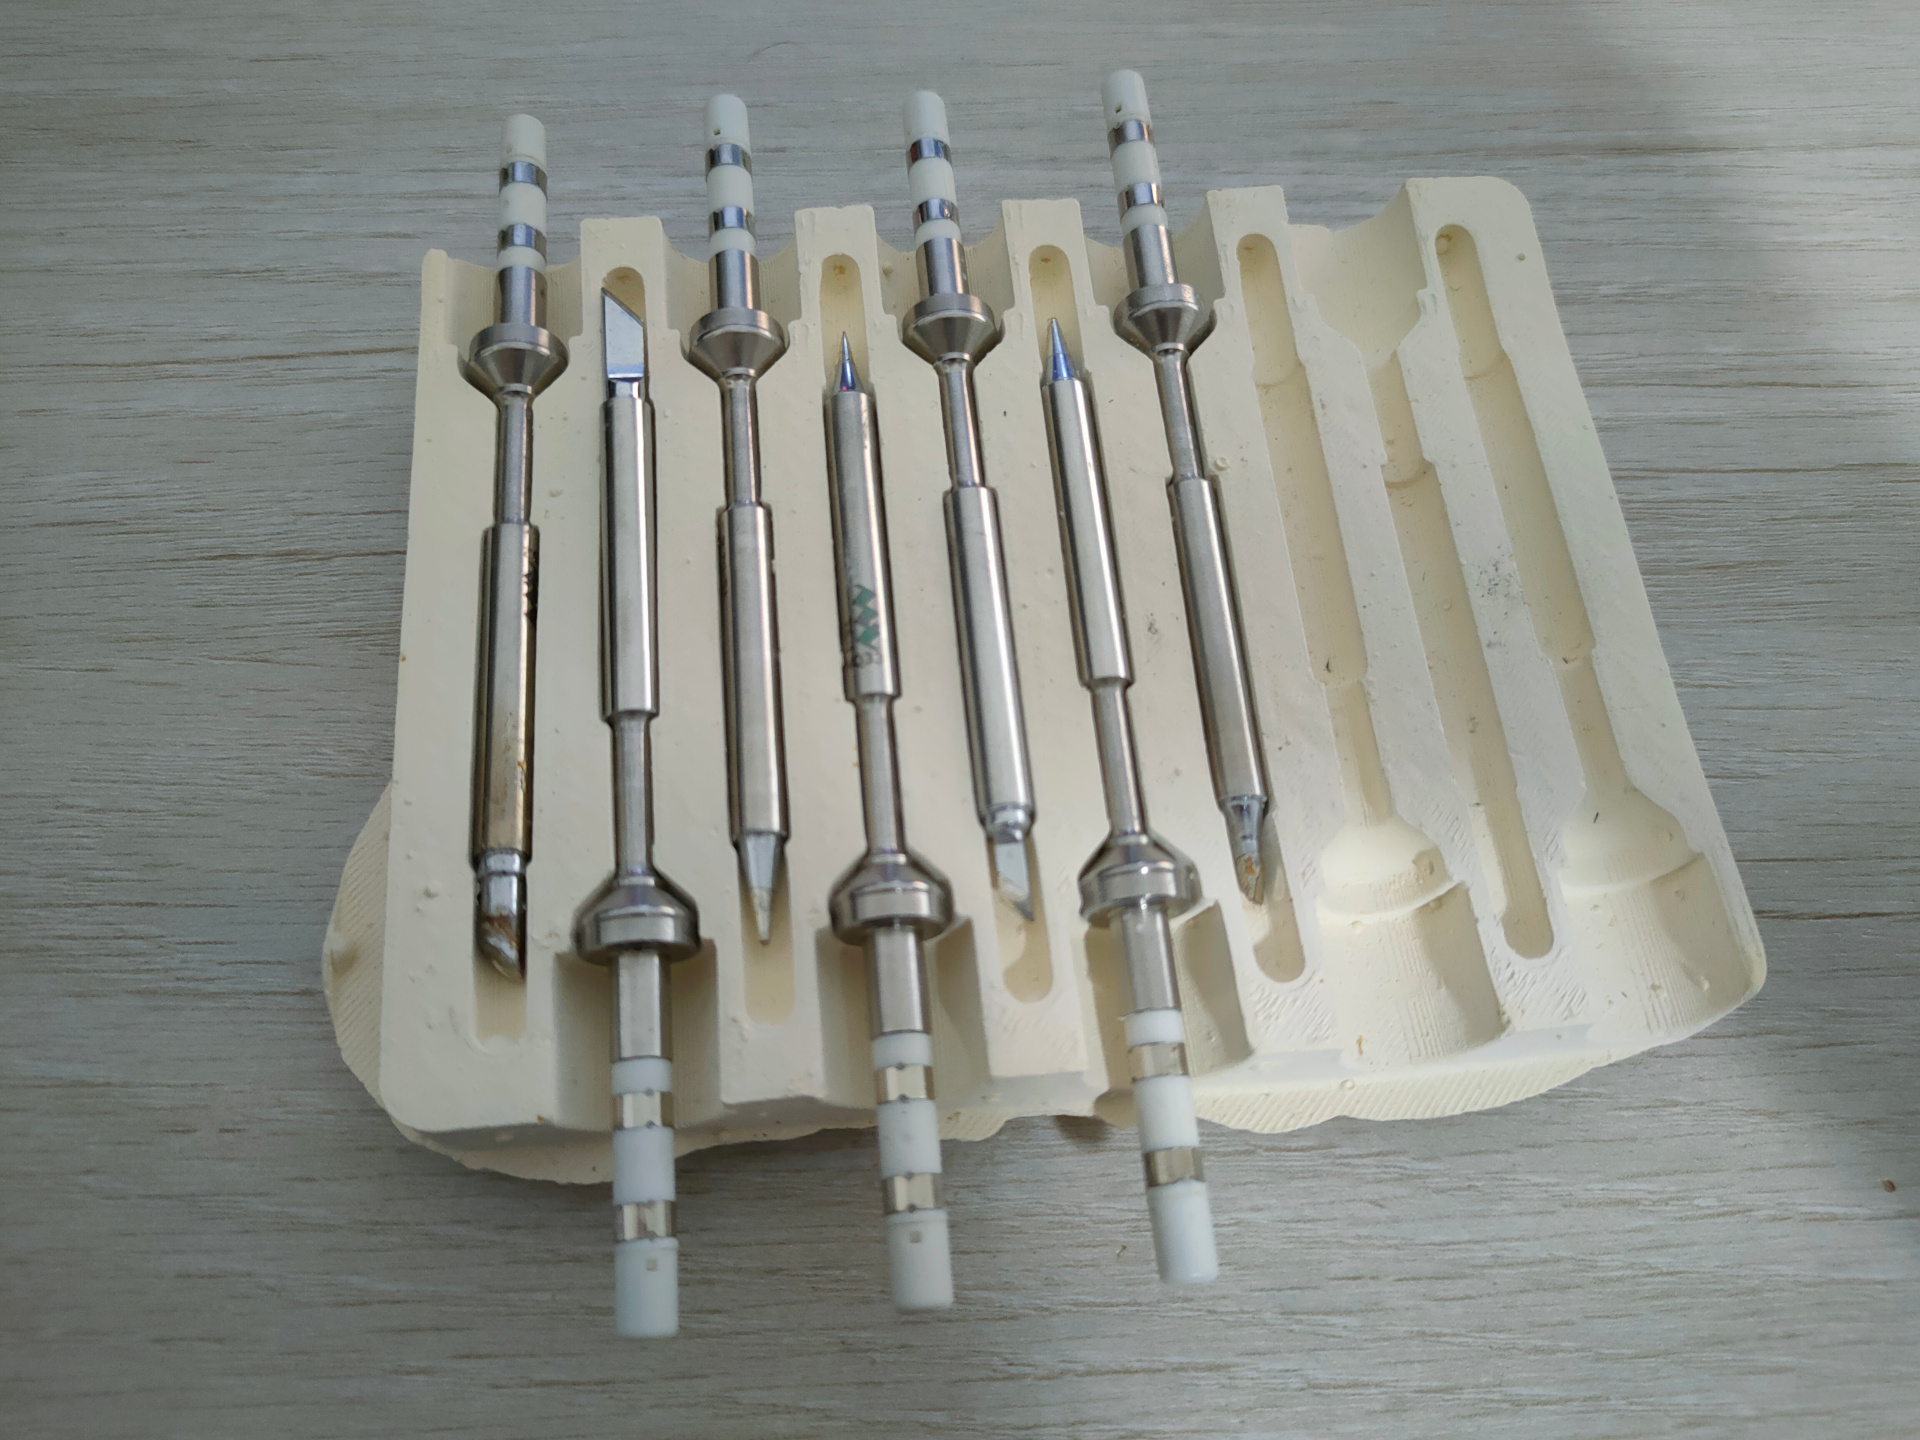
It turned out great! The tips fit perfectly, and I can do the little maneuver to get it off the TS-100 using the support to hold the tip in place. I still have to cut these ugly leftovers on the side, and maybe straighten up it's back by sanding it, but it works for now.
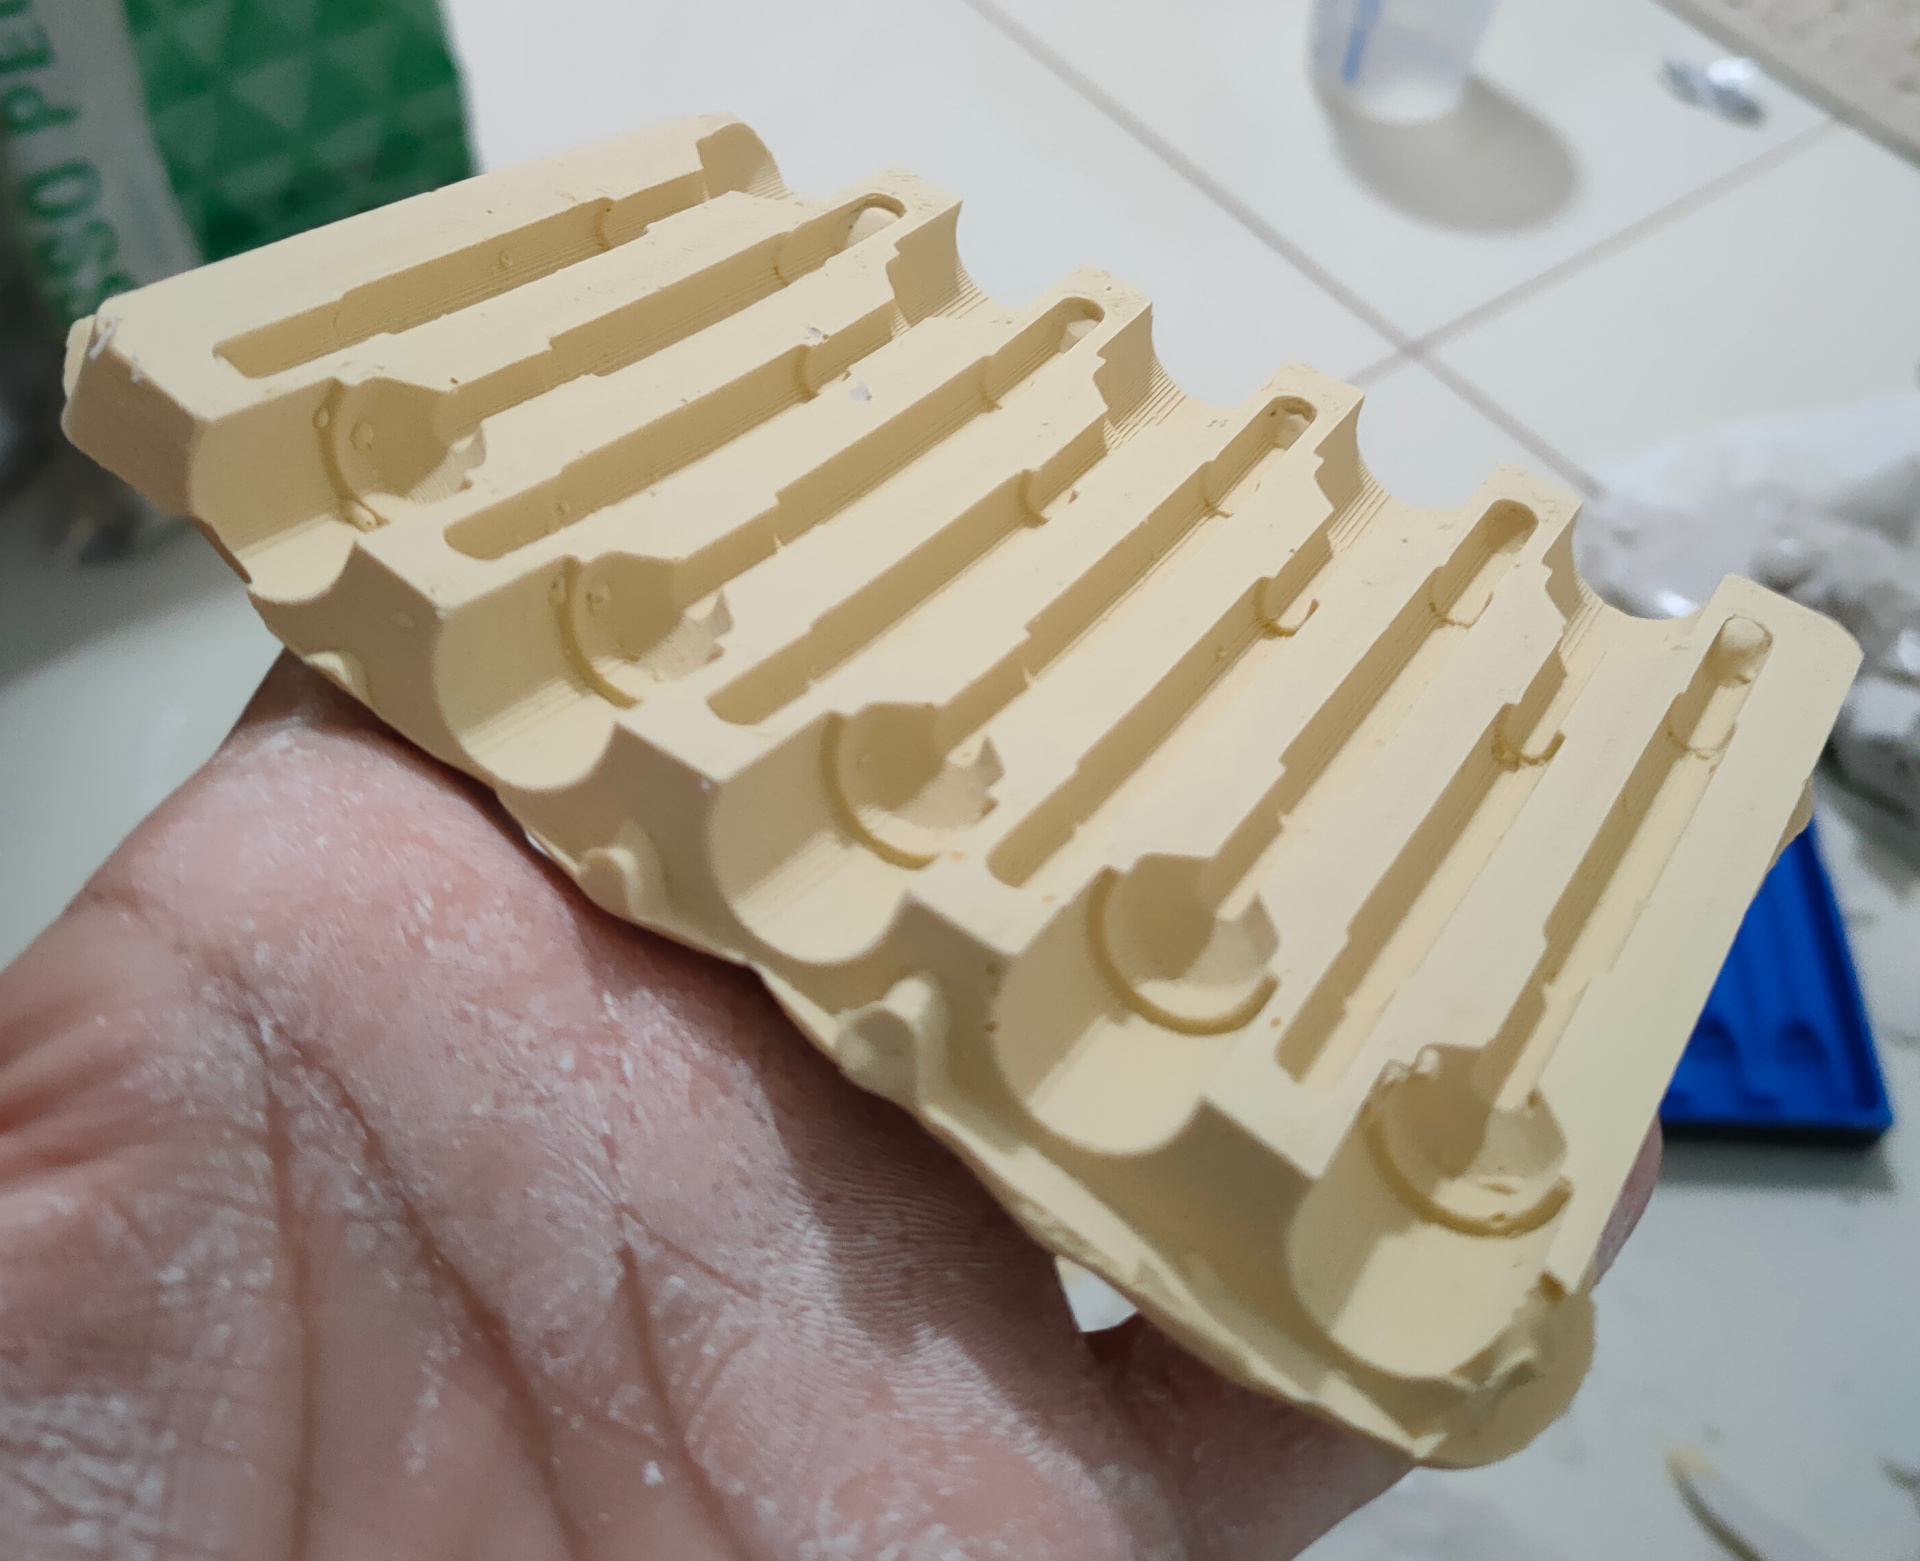
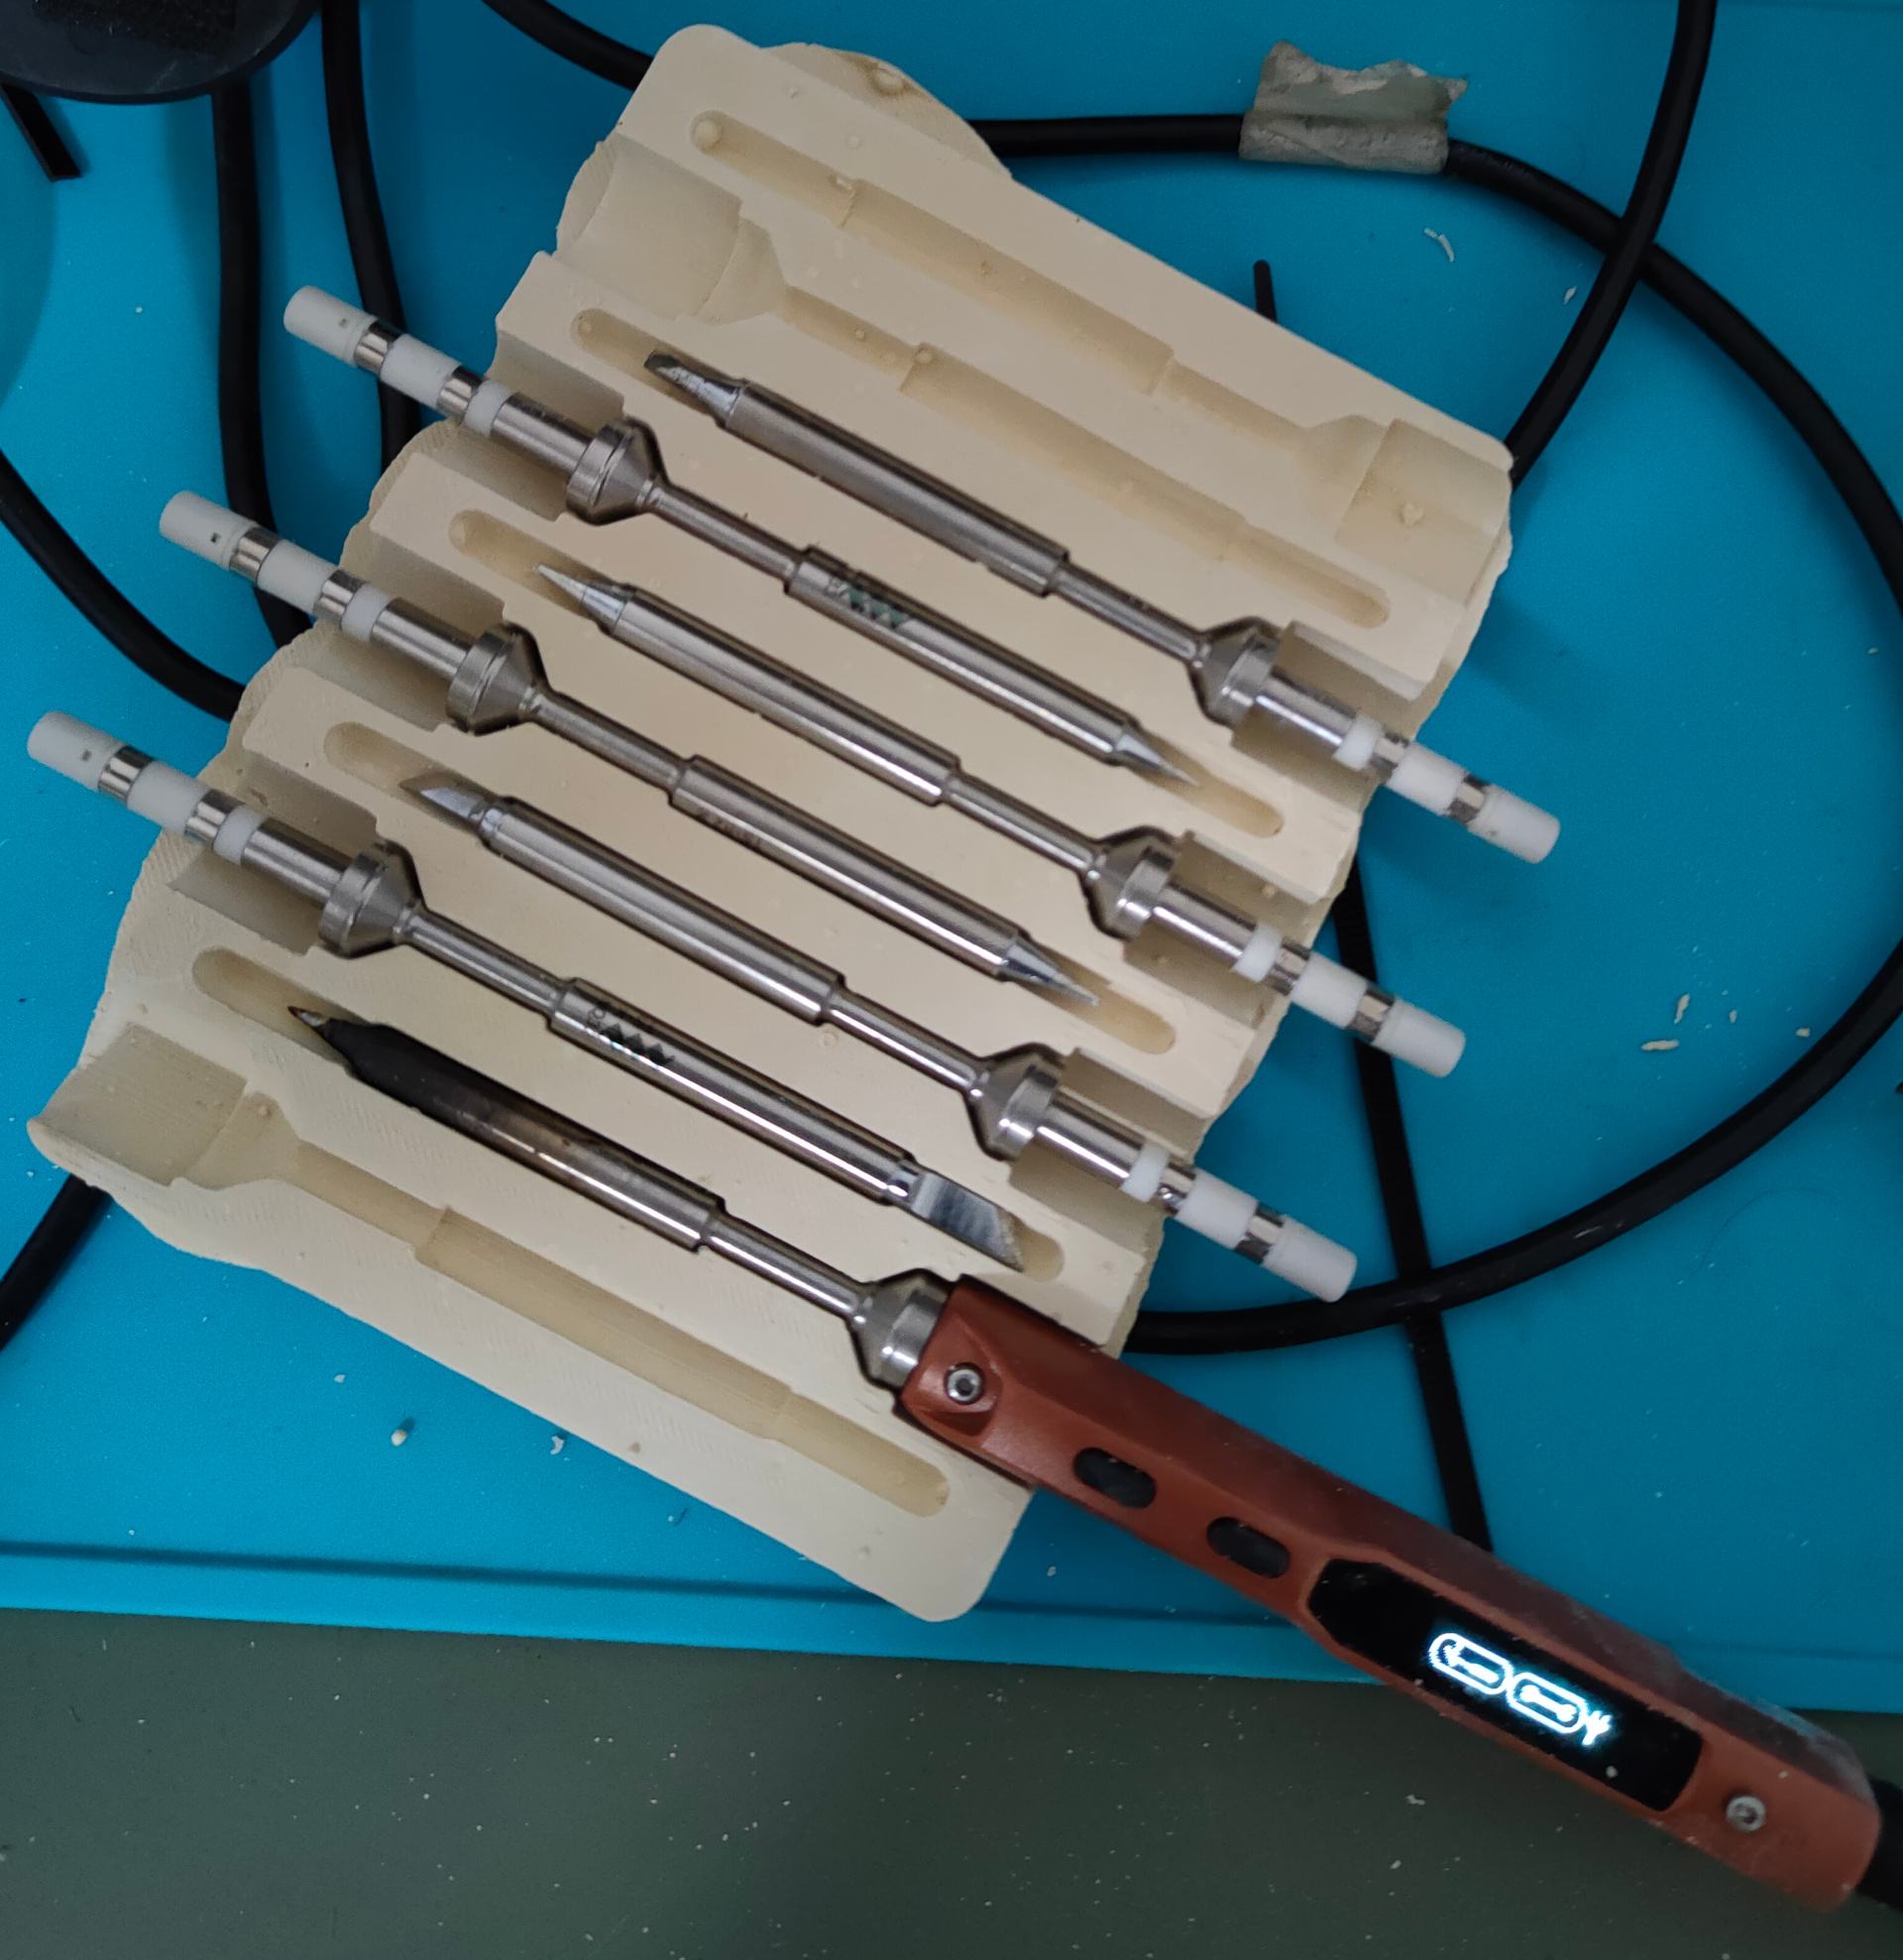
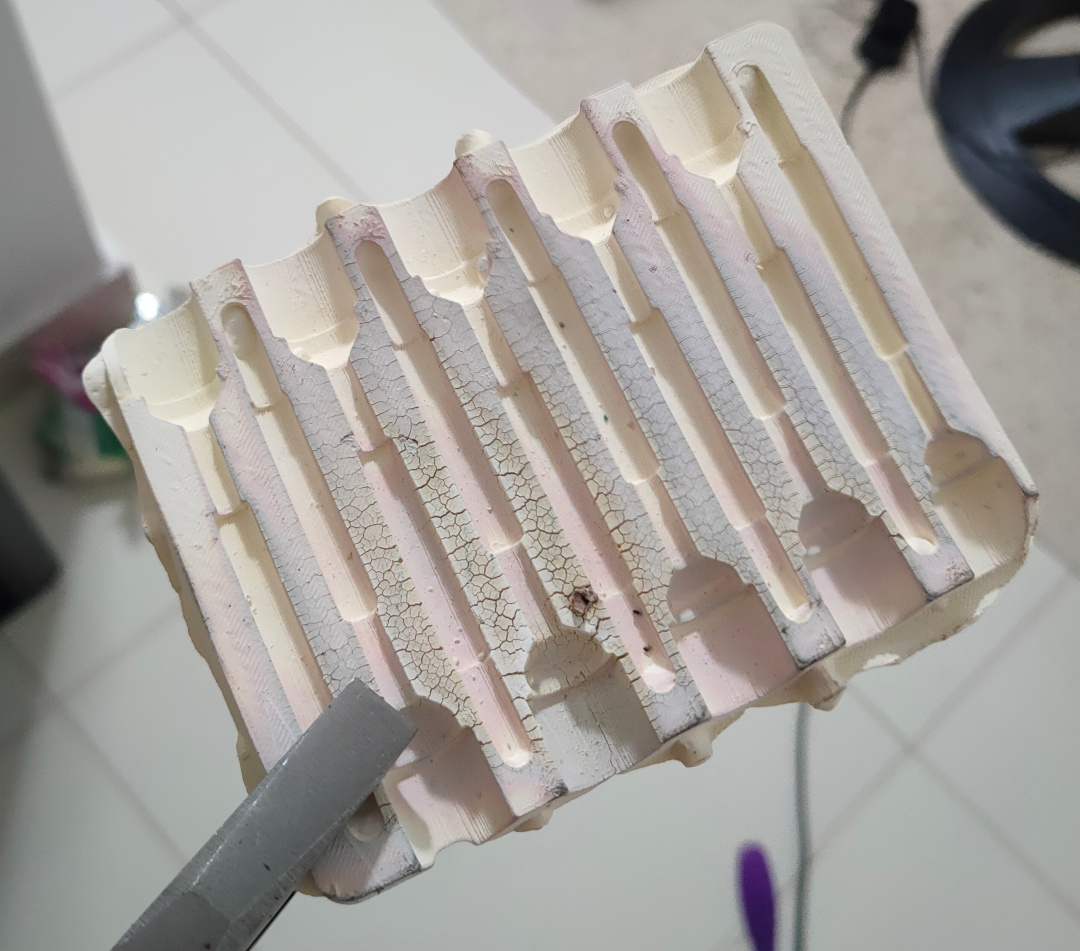
A friend asked my until what temperature the plaster would hold up. I had no idea, so I decided to test it:
The answer? It can get pretty freaking hot, much more than I need it to, but unfortunately I didn't have a good IR thermometer a the time, and don't know how much exactly. The piece got a little ugly, but held itself together, so the other, a bit more straight that I made, will do just fine.
Below, you can download the FREECAD project file I used(it's a zip so wordpress would let me upload it, even though FCStd is already a big zip(I couldn't be bothered to figure out how to allow a new extension)):